
There are so many advantages to building an observatory that naming them all would be unnecessary except to say that your observing time will go up exponentially. That was the problem I had before. We all know the routine: 45 minutes of setup; 1 hour of temperature acclimation; and 30 minutes of teardown. That is, if clouds don’t appear in the meantime. All this ‘lost’ time could now be spent on observing. Having my own observatory has been a dream for a long time. In the summer of 2010 my CFO gave final approval to go ahead with my project. After a few months of research and design everything was set to start with the construction. These pictures give an idea how the construction progressed, starting on February 5th, 2011.
–

Setting the location. in the back of the garden with a good view to the northeast, east and south.
–

Digging a hole for the concrete pier-foundation, letting my father and my son do all the work. I will take the pictures.
–

2 more feet to go!
–

Embedding a capsuled message to be opened on February 5th, 3011. At 2:56PM if possible.
–

Digging a hole and filling it up again. That’s what we did all day!
–
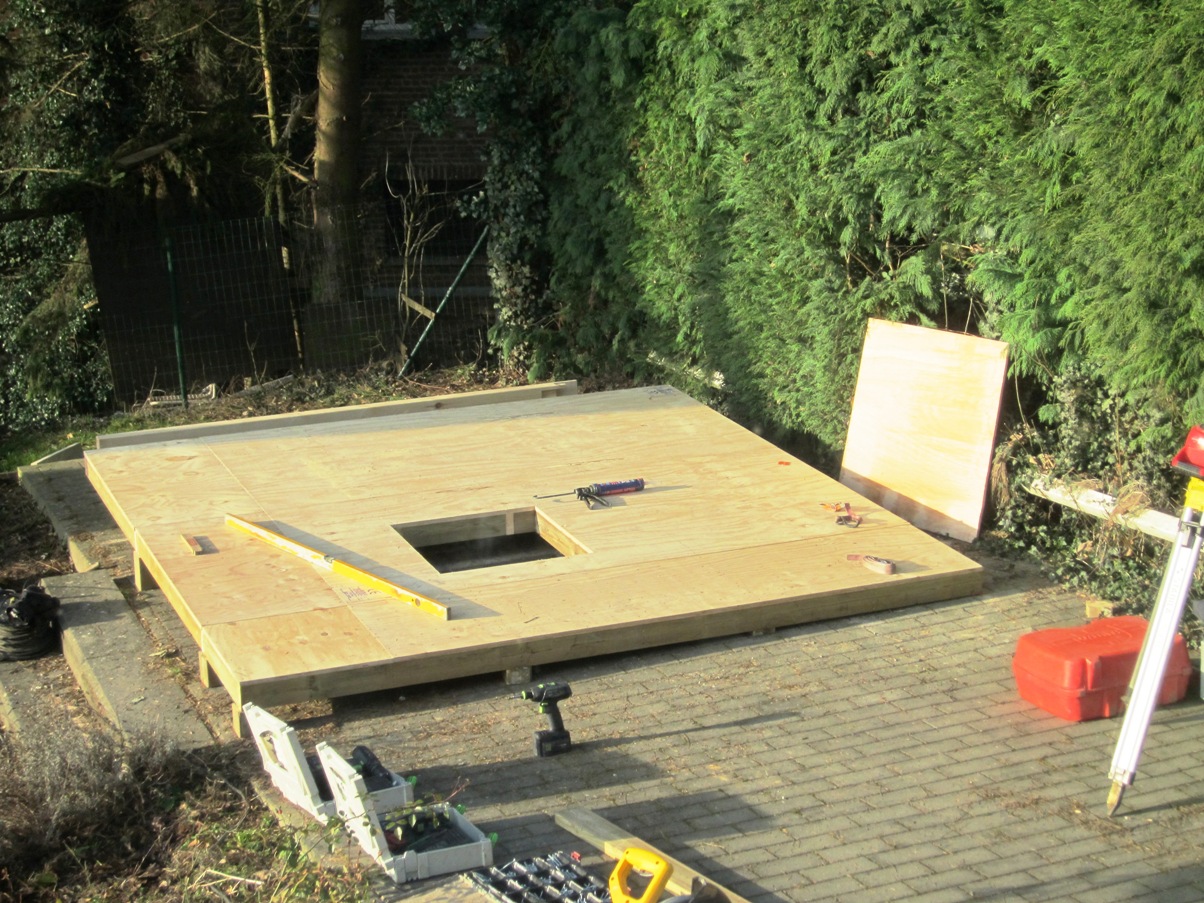
Levelling the 3x3m floor of the observatory.
–
Growing strong.
–
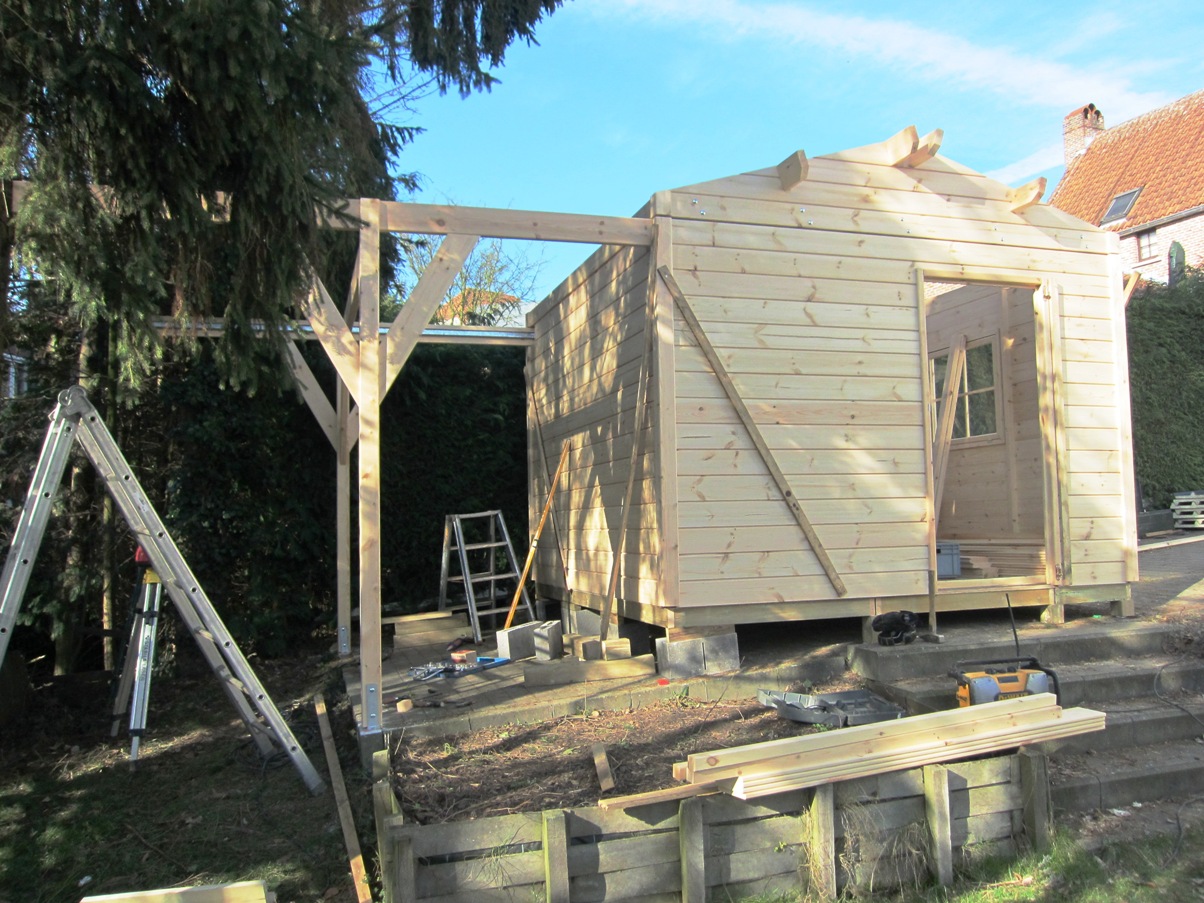
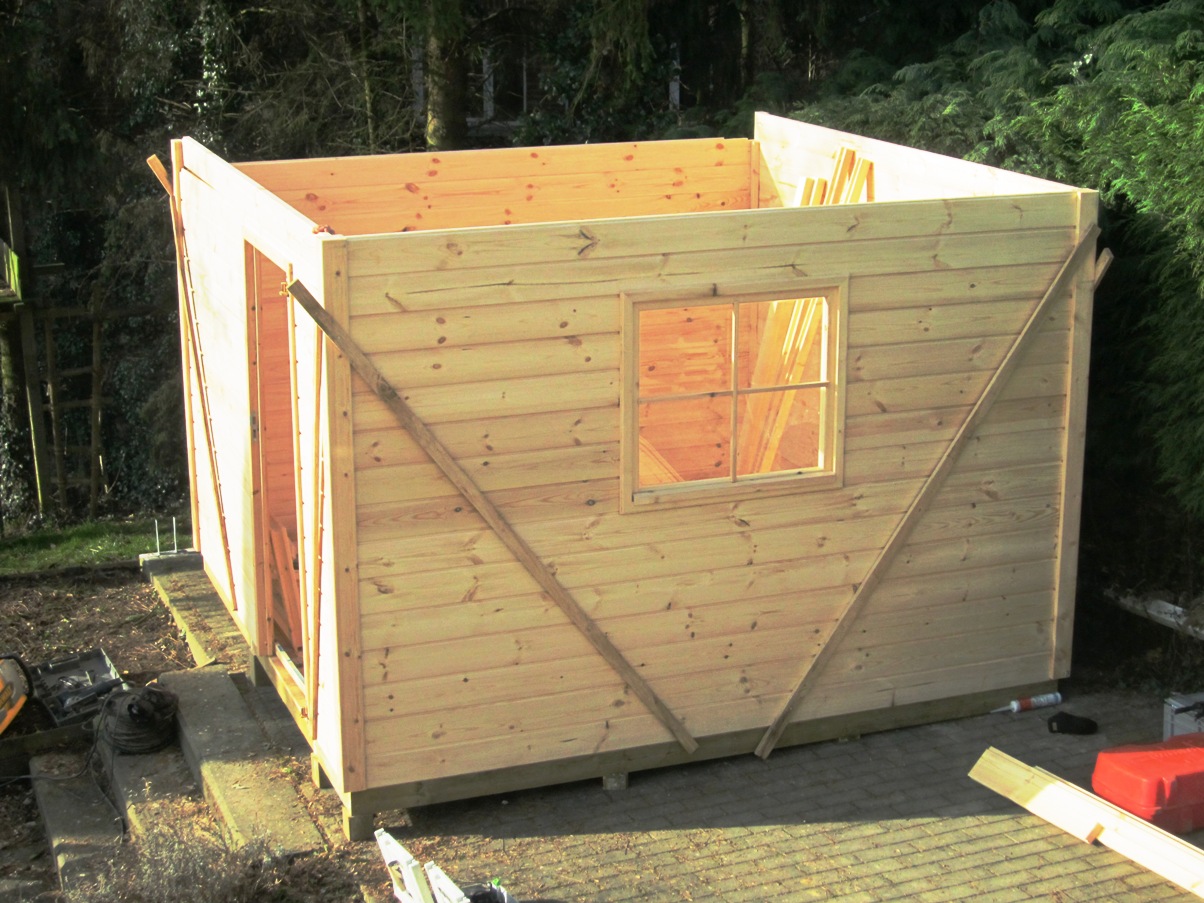
The supports for the sliding roof are added.
–
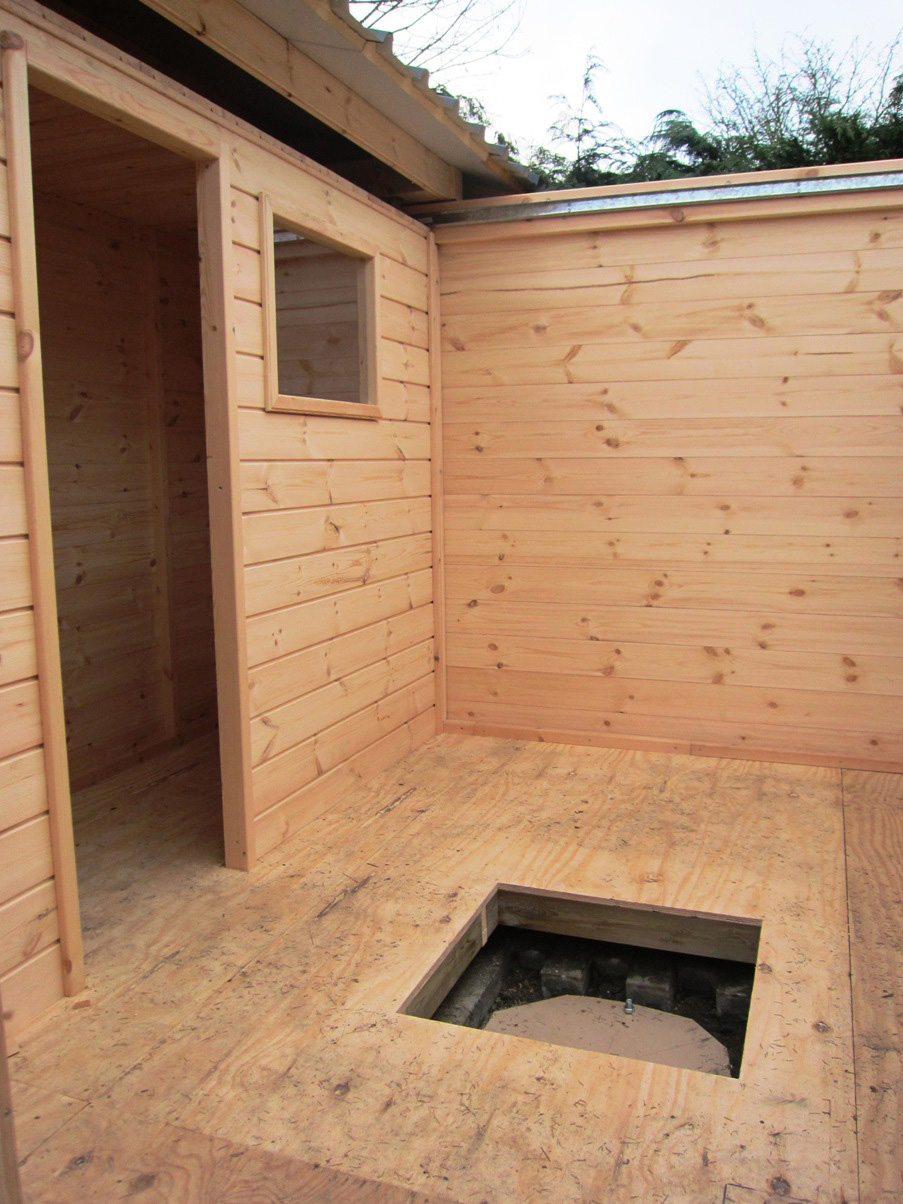
The wall will divide the observatory in a warm compartment and the 2x3m open roof telescope room.
–
Ok, now there’s no way back…
–
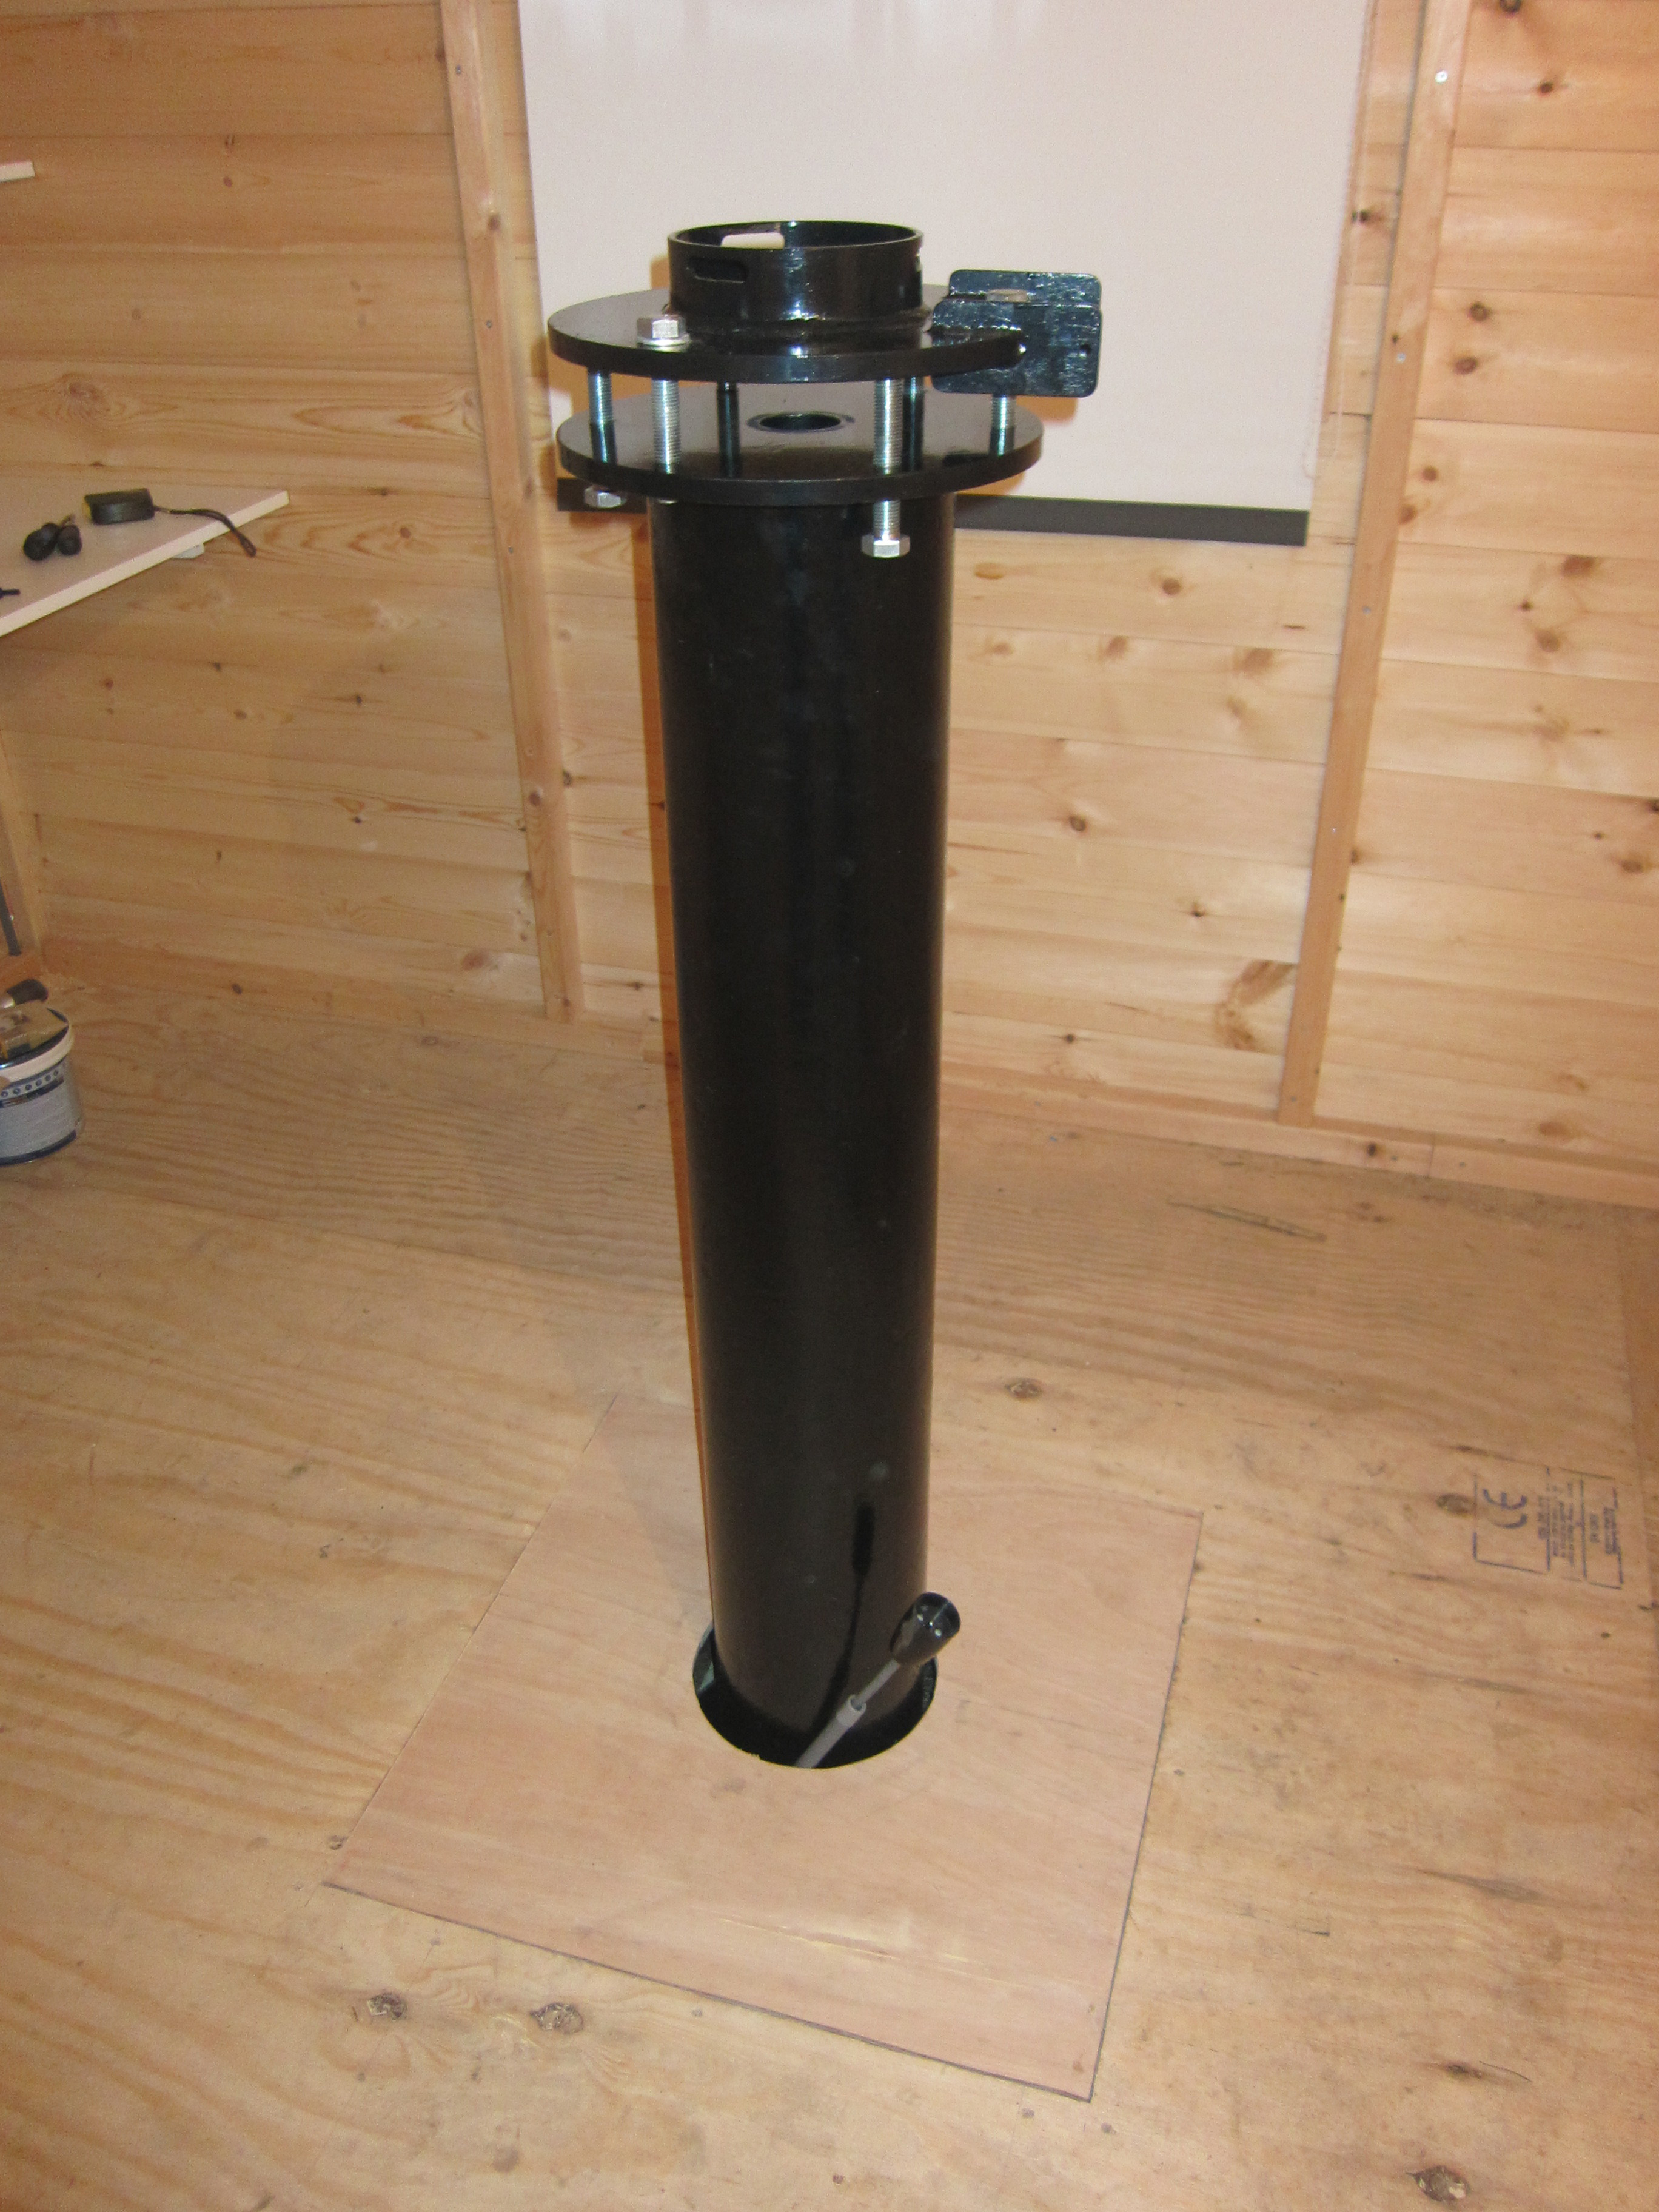
Another milestone: the pier is put in place. A 200x10x1400mm steel tube with double 3-point flange for easy alignment. The tube is filled with sand for improved vibration damping.
–
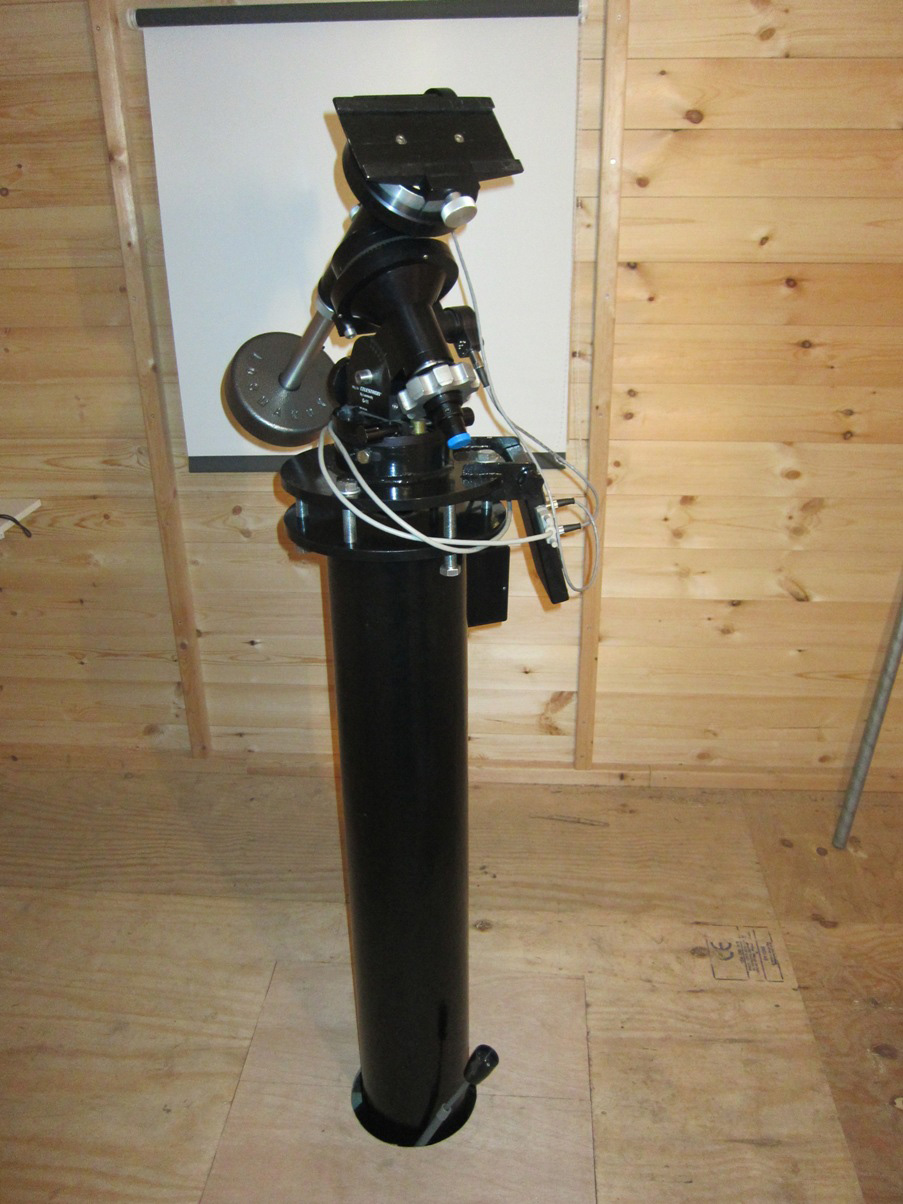
And on top my beloved Losmandy G11 mount
–

Almost ready for action. I’ve mounted my William Optics FLT110 refractor and WO66 guidescope.
–

Everything is still organized and clean. Let’s see how long this will last.
–

My work station in the ‘warm’ room
–

And some storage at the back
–

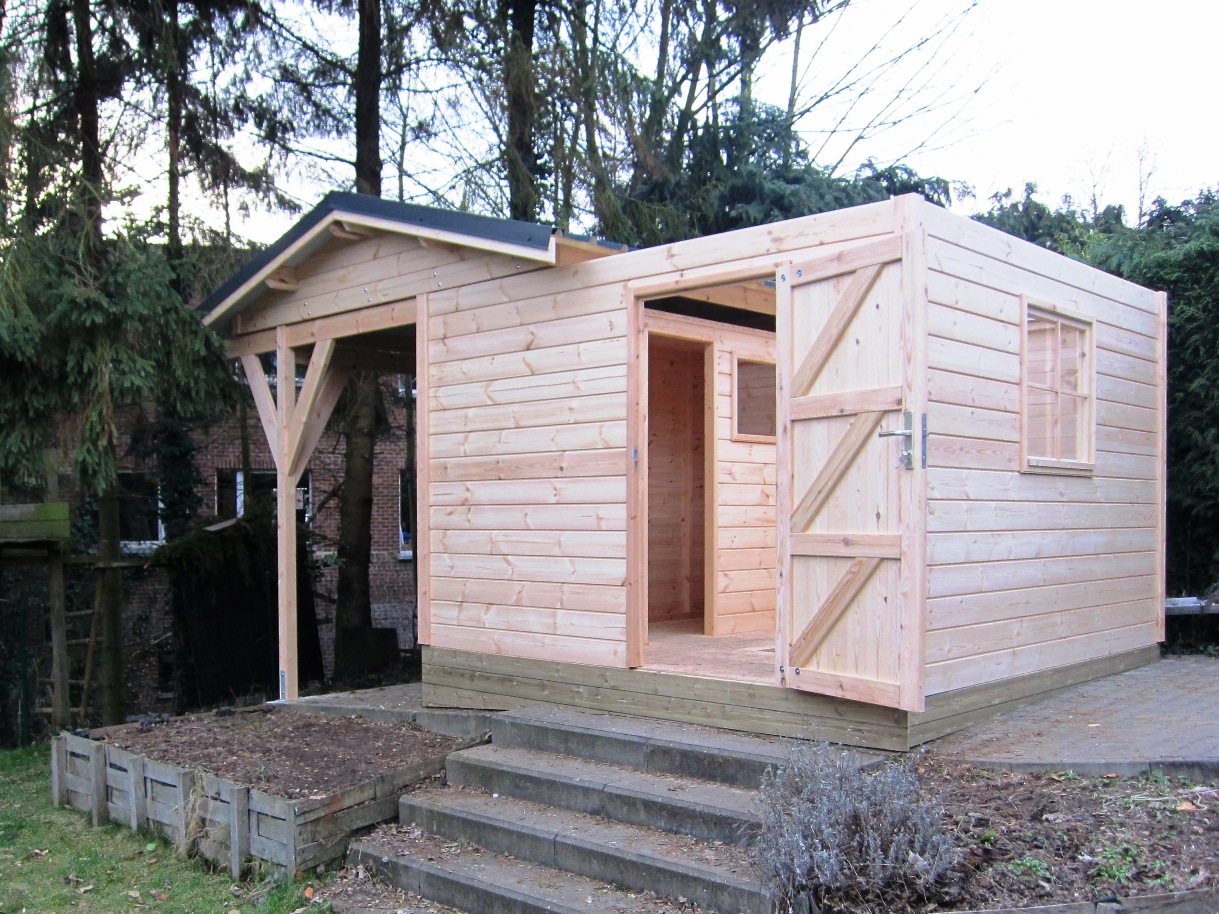
A lick of paint to finish it off. I hesitated for a long time between this off white colour or RAL4010.
You can see the sliding roof here
–

And here is a happy guy.

Beautiful Observatory !!!
I would love to have an observatory like that, it looks great!
Prachtig zeg, wij hebben geen plek voor een sterrenwacht dus ik kijk altijd graag naar degene die wel de ruimte hebben. En er worden bijzondere mooie platen geschoten.
Mvg Peter van Valen
Great observatory, everything is done by yourself?
Hi Orsen. Thanks! Not everything was done by myself. I worked on the pier and designed the observatory. The wooden construction was custom built by a local garden shed builder.
How long has the observatory been built?I am from China and live in a city near Beijing. I am preparing to build an observatory this year.
I’m sorry, you’re supposed to be in the wee hours of the morning.
What a great job. Hoping you clear skies Mike